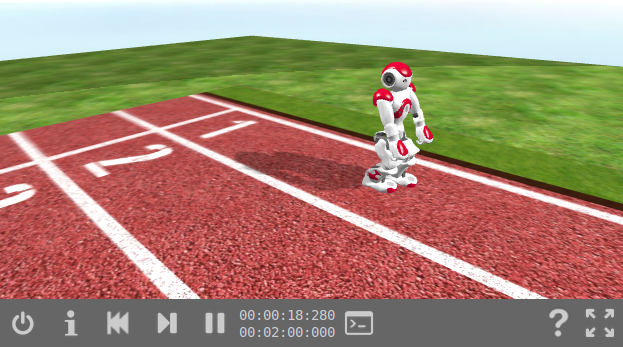
The current simulation time is indicated on the first line of the simulation time element.
Additionally, for each simulation a time-out value is defined determining how long the simulation will run automatically. When the time-out period elapsed, the simulation will stop and the user has to restart it manually clicking on the Play button. The time at which the simulation will stop is indicated on the second line of the simulation time element. The next stop time is updated when clicking on the Pause or Step button.
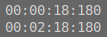
The info window contains some introductory information about a simulation and can be displayed by clicking on the tool bar Info button. It may contains several tabs.
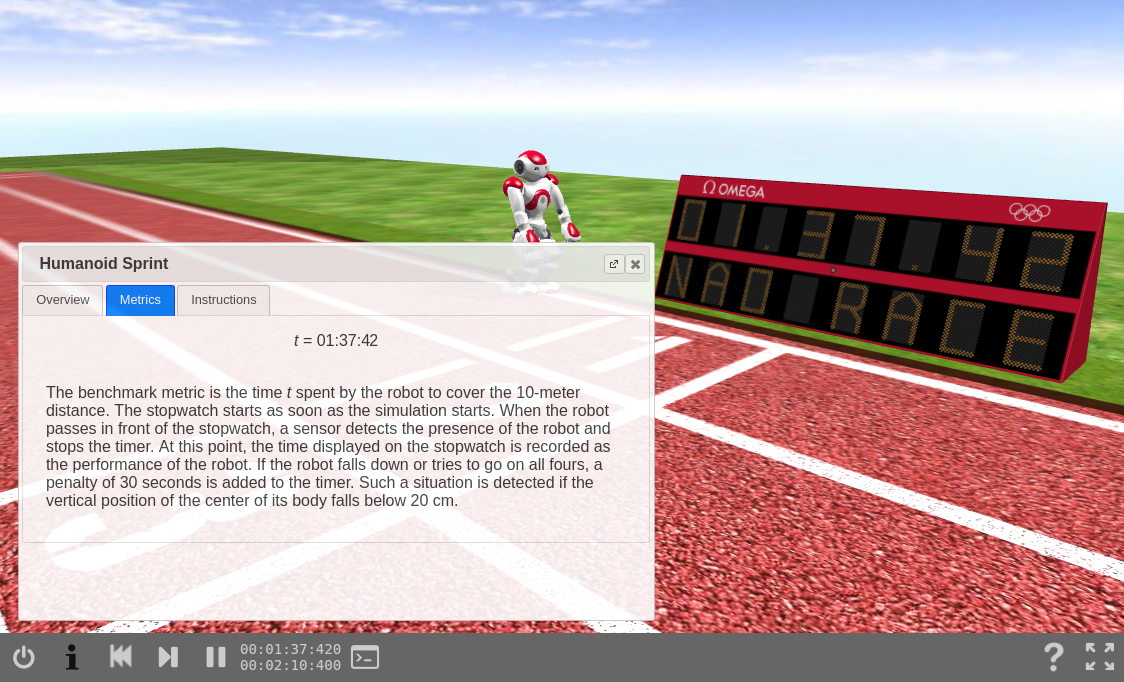
The console window displays all the simulation information, warning and error messages. These messages could come from the simulation core or from the robot controller. In fact, it also displays all the messages printed to the standard output (stdout) and standard error stderr from the robot controller, i.e. for example using the print statement in Python. The console can be open by clicking on the tool bar Console button. Keep an eye on the console if the simulation does not work as expected!
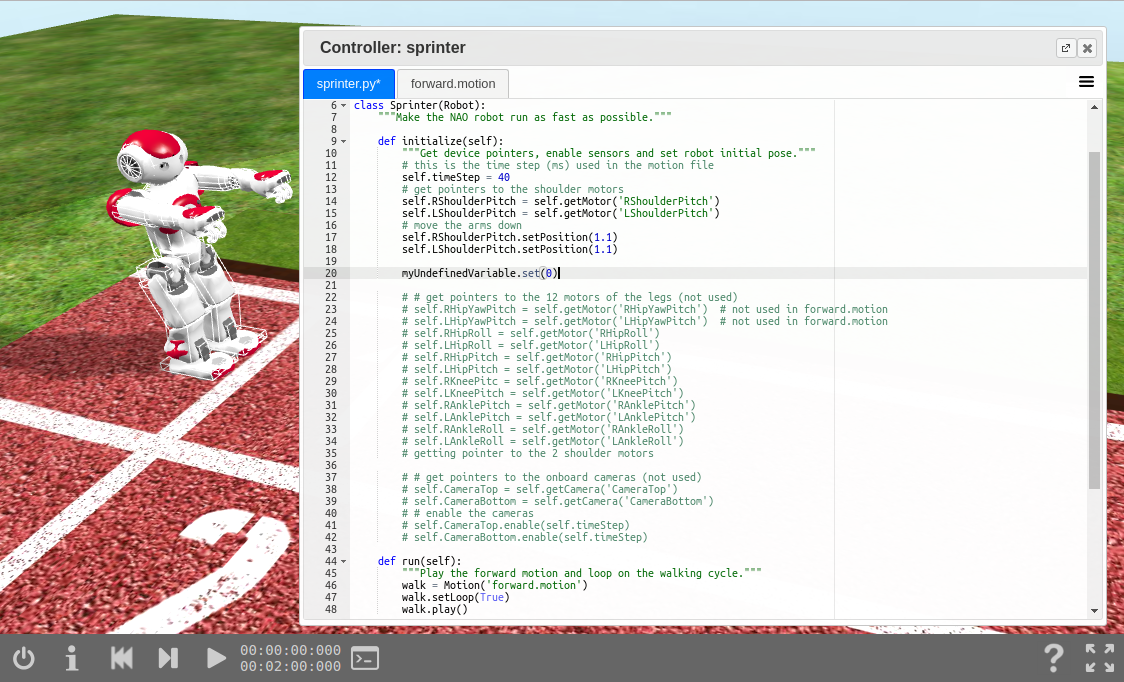
This is an editor window where it is possible to modify the robot controller programs in order to possibly improve the behavior of the robot. It can be open from the robot context menu, popped up when clicking with the right mouse button on the robot in the 3D scene, and it will automatically contains all the editable source files.
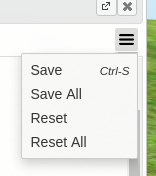
In the top right corner of the editor there is a menu containing the following items:
Note that the Save keyboard shortcut (Ctrl-S) only works if the focus is on the editor text area and the text input caret blinks. Otherwise, the browser page will be saved instead of the file changes.
An object context menu is displayed when clicking with the right mouse button on an object or robot in the 3D scene. The objects context menu provides the following actions:
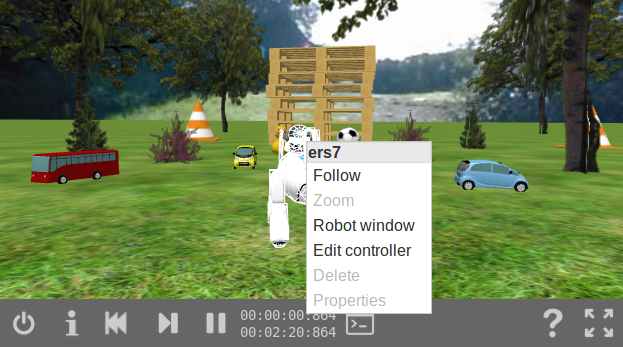
Additional actions are available in robots' context menu:
It is possible to select an object or a robot in the 3D scene by clicking on it using the left mouse button. Once selected, a white outline representing the physical shape of the object is displayed. The physical shape could differ from the graphical shape of the object, as it usually consists of simple geometries, and it is used by the physics engine to compute collisions and forces.
To rotate the camera around the x and y axis, you have to set the mouse pointer in the 3D scene, press the left mouse button, and drag the mouse:
To translate the camera in the x and y directions, you have to set the mouse pointer in the 3D scene, press the right mouse button, and drag them mouse.
The translation speed is proportional to the distance from the viewpoint to the 3D point on which you clicked. If you click on the background, the translation speed is proportional to the distance to origin of the world, e.g., (0, 0, 0).
To zoom in or out the 3D scene, set the mouse pointer in the 3D scene and use the wheel of the mouse.
To zoom and tilt the camera, you have to set the mouse pointer in the 3D scene and press both left and right mouse buttons (or the middle button):
The zoom speed is proportional to the distance from the viewpoint to the 3D point on which you clicked (or on which the mouse pointer was located when you used the mouse wheel) . If you click on the background (or have the mouse pointer over the background while using the mouse wheel) , the translation speed is proportional to the distance to origin of the world, e.g., (0, 0, 0).